Servers
- Navigate to Admin > Servers and click on the + icon on the top left of the server manager.
- Enter a name for the server and press OK.
- More input fields will appear. Populate the fields as described below.
Details
- Enter a descriptive name for the server, such as
DarkRP. - Enter the public IP address or domain of the server. Required for server queries and RCON, if enabled.
- Enter the server's game port and query port.
- Specify the game the server is running.
- Optionally configure a custom cover image for the landing page server card.
Integration
- Generate a token for the server.
- Specify the polling interval in seconds. This sets the frequency at which e.g. uses role changes, purchases and bans are checked for.
- Select the scope of the bans that should be enforced on the server.
- Select the default server group of non-global bans originating from the server.
- Select the role sync method to be used on the server.
- Enable ban log if desired.
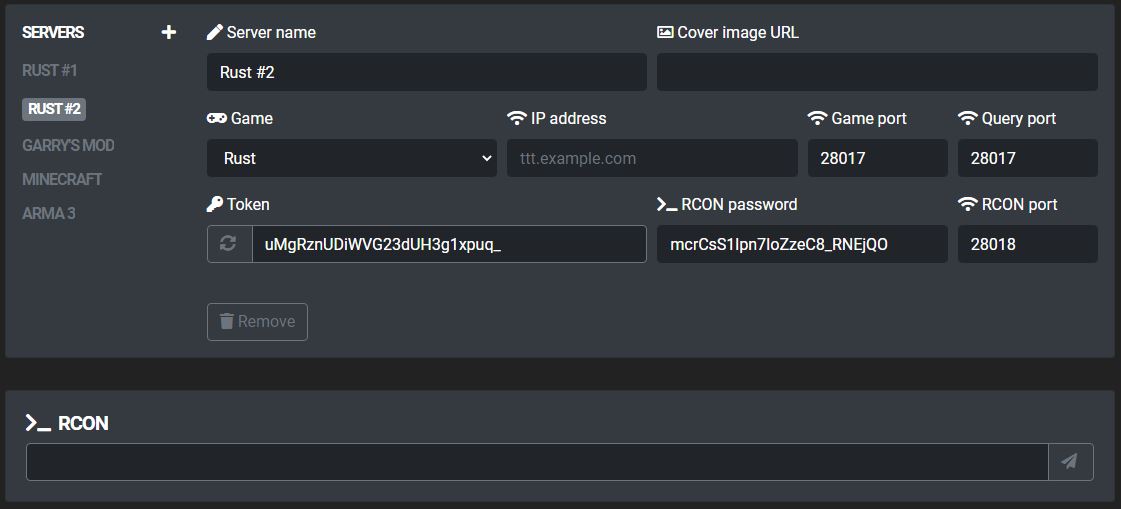
Remote console
If the RCON configuration options are filled, a remote console component will appear below the server manager.
The RCON connection may be automatically utilized to enforce server-scoped bans issued from the web interface and – if the task scheduler is configured – execute command-based store package actions (e.g. command, role_grant) in-game.
The connection can be tested by sending a command (for example status).
Example configuration